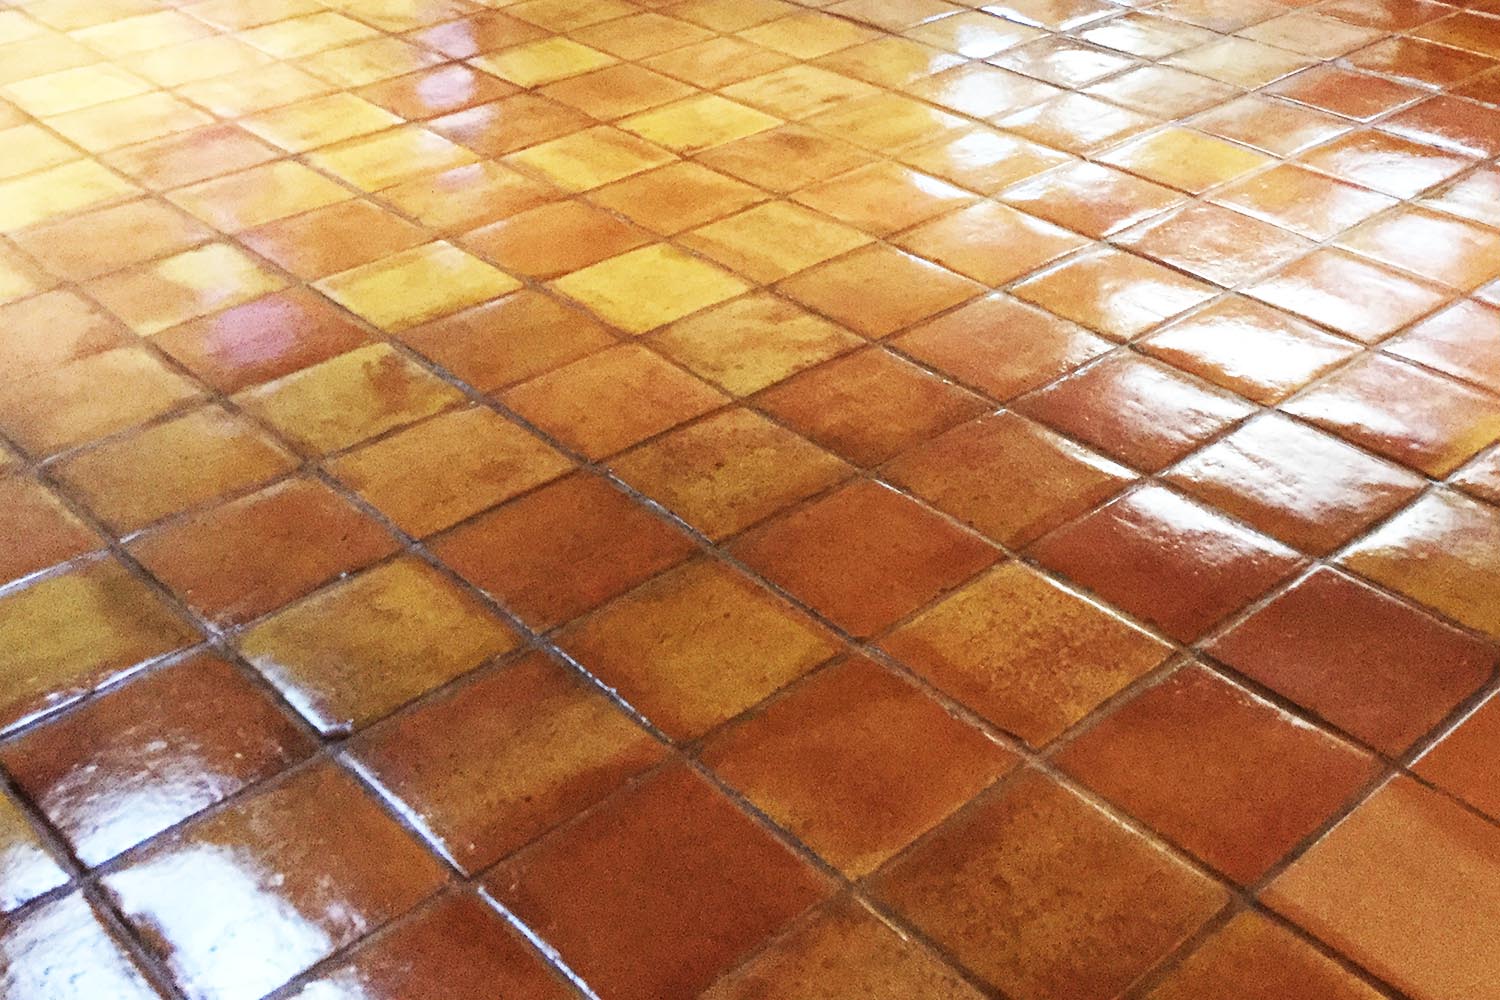
The Art of Reviving Mexican Tile floors: Traditional and Modern Approaches
Mexican tile floors, known for their vibrant colors, intricate designs, and rustic charm, are a cherished element of many homes and architectural styles. Their timeless beauty and cultural significance make them popular indoors and outdoors. However, like all natural materials, Mexican tiles are prone to wear and tear over time, dulling their appearance and compromising their structural integrity.
Mexican Tile Floors
Reviving Mexican tile floors involves carefully blending traditional techniques and modern restoration methods. Whether you wish to marble-floor/”>marble-floors/”>marble-restoration-in-miami/”>marble-floor/”>marble-and-granite/”>marble/”>marble/”>marble–floor/”>marble-floors/”>restore antique tiles to their original splendor or give newer installations a refreshed look, understanding the best practices for Mexican tile restoration is essential. This guide will take you through bringing these beautiful floors back to life.
Understanding Mexican Tile Floors Mexican tiles, often made of terracotta or Saltillo clay, are handcrafted and fired at low temperatures. This process gives them their characteristic earthy tones, uneven edges, and unique surface imperfections. While these features contribute to their charm, they also make the tiles porous and prone to staining if left untreated.

The Art of Reviving Mexican Tile Floors
The natural porosity of Mexican tiles means proper sealing is critical to maintaining their beauty and durability. Over time, foot traffic, moisture, and environmental factors can cause the tiles to lose their vibrant colors and develop scratches, cracks, or stains. Fortunately, you can restore them to their former glory with the proper restoration techniques.
The Art of Reviving Mexican Tile Floors
Preparation Before Restoration Before beginning the restoration process, it is essential to clean the tiles thoroughly. Start by sweeping or vacuuming the surface to remove loose dirt and debris. Follow this by mopping the tiles with a pH-neutral cleaner formulated explicitly for Mexican tiles. Avoid using acidic or abrasive cleaning products, as they can damage the surface.
Once cleaned, inspect the tiles for damage. Look for cracks, chips, stains, or signs of efflorescence (a white, powdery residue that can form on the surface due to moisture). Identifying the specific issues affecting your tiles will help determine the appropriate restoration techniques.
Step 1: Cleaning and Stripping The first step in the restoration process is to remove old sealants, wax, and built-up grime. This is accomplished using a tile stripper designed for Mexican tiles. Apply the stripper according to the manufacturer’s instructions and allow it to penetrate the surface before gently scrubbing with a soft brush or pad.

Rinse the tiles with clean water to remove any residue from the stripping process. Ensure the floor is thoroughly dried before proceeding to the next step.
Step 2: Repairing Cracks and Chips If your Mexican tile floor has cracks or chips, these must be repaired before polishing or sealing. Small cracks can be filled with a color-matched epoxy or grout. For larger cracks or damaged tiles, replacing individual tiles with matching pieces may be necessary to maintain the overall aesthetic.
Once repairs are completed, allow the filler or replacement tiles to cure according to the manufacturer’s instructions.
Step 3: Polishing and Enhancing Colors Polishing Mexican tiles involves gently buffing the surface to restore their natural luster. This can be done using a floor buffer with a soft pad. To enhance the tiles’ vibrant colors, apply a color-enhancing sealer designed explicitly for Mexican tiles.
The sealer will penetrate the tiles’ porous surface, enriching their natural hues and providing a protective layer against stains and moisture. Apply the sealer evenly and allow it to dry completely before proceeding.
Step 4: Sealing Proper sealing is essential for preserving Mexican tiles. Apply a high-quality penetrating sealer that offers protection against moisture, stains, and foot traffic. For outdoor installations, choose a sealer that provides UV protection to prevent fading caused by sunlight exposure.
Allow the sealer to cure fully before allowing foot traffic on the surface. Regularly reapplying the sealer will ensure long-lasting protection and maintain the beauty of your Mexican tile floors.
Step 5: Maintenance and Care Once restored, maintaining your Mexican tile floors is essential to preserve their beauty and durability. Regularly sweep or vacuum the surface to remove dirt and debris. Clean the tiles with a pH-neutral cleaner and avoid using harsh chemicals or abrasive tools.
Periodic reapplication of the sealer is recommended, especially in high-traffic areas. This simple maintenance routine will help your Mexican tile floors retain charm and vibrancy for years.
Conclusion:
Conclusion Reviving Mexican tile floors is both an art and a science, requiring attention to detail, patience, and the proper techniques. By combining traditional restoration methods with modern products and tools, you can successfully bring your Mexican tiles back to life. Whether preserving antique tiles or enhancing newer installations, the key to success lies in understanding the material’s unique characteristics and providing the appropriate care.
With proper maintenance and periodic restoration, your Mexican tile floors will continue to radiate their rich, rustic appeal, enhancing your space’s beauty and cultural significance.

No responses yet